Silhouettes are great for concept art because they don't restrict you to conform to a specific design; in my honest opinion, I believe they lend even more to letting your imagination flow. Also it is great practice to see things in shapes and form and not the little details that make up inside.
#1: Let your mind loose. It doesn't matter what shape you make. Random shapes add up to making up new shapes in later steps. Scribbles are great. The more random or unidentifiable the shapes are, the better!
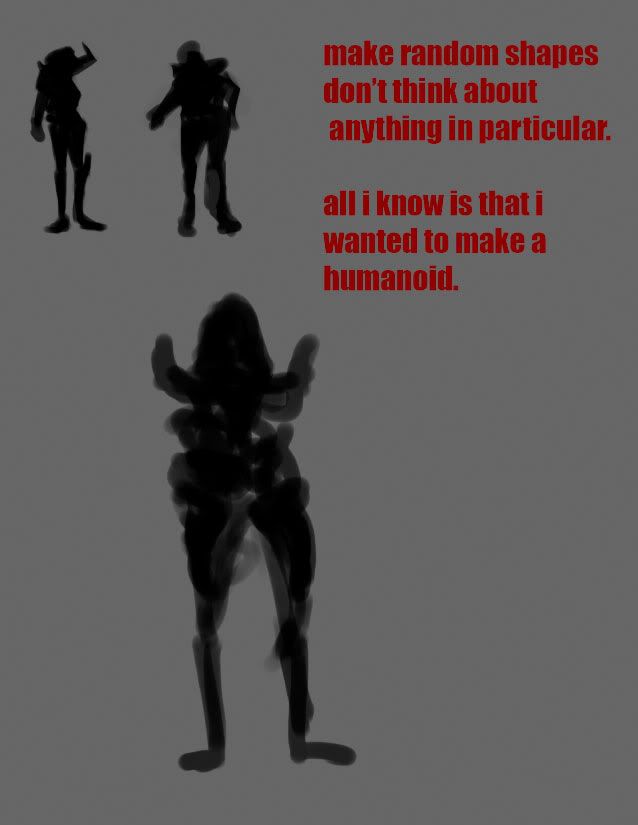
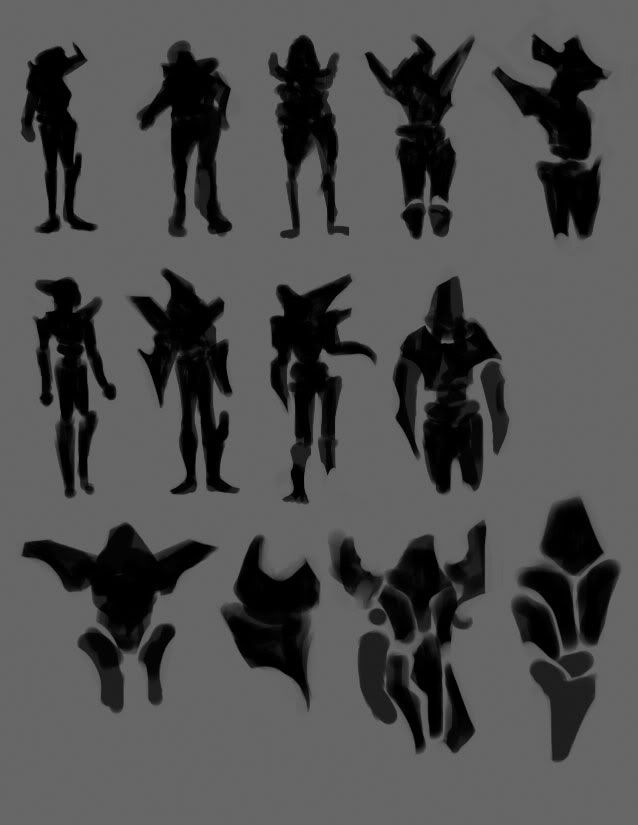
#2: Here are a collection of the random shapes that I have made. Know that this isn't our final thumbnails page (in fact, there isn't really a final one. The more pages, the merrier!). They are unidentifiable in terms of what kind of character this is going to be. We can tell that it will have two legs, but is it female? Male? A creature of some sort? We'll never know...
#3: Putting them together. This is where it gets kind of technical. I took a shape (a) I liked from the previous canvas and pasted it on a new one. I copied another one (b) as well and pasted that onto its own layer.
Shape (b)'s layer should be on multiply. This will make it darker, but if you use the level option (cntrl+L) and move the right hand arrow to the left, it will make it "transparent".
Hint: The multiply blending mode makes all white in that layer transparent.
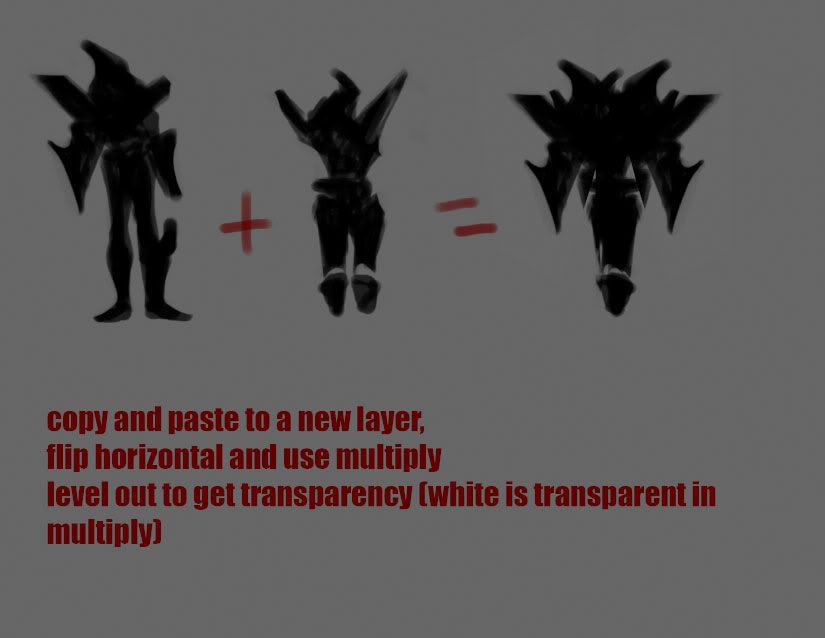
Duplicate, transform, flip horizontal and put it all together. Do whatever your heart desires. The main point of this step is the multiply blending option and how it opens brand new shapes for you.
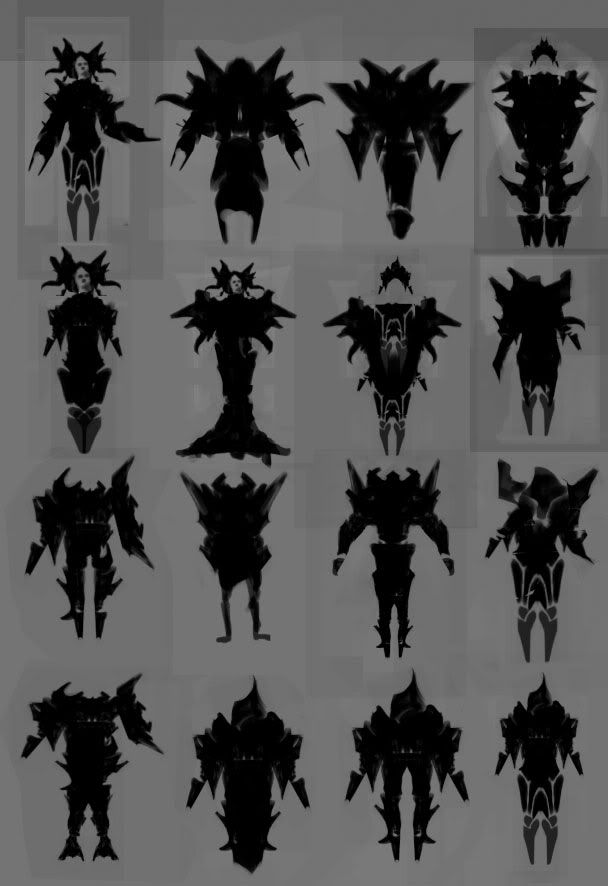
#4: Character ideation. Repeating step 3 numerous times has let me form brand new shapes from previous canvas. In here I was focused more into narrowing down my direction but yet still did not restrict myself from what it might be like. Also, know that you are never restricted to do anything on this phase of your work flow. Anything goes - warp tool, painting on top of the shapes some more, customized brushes, etc. etc.
5 comments:
Nice you did it, I think I will have a few questions. Oh man now it's my Turn...haaaa...lol
ask away
with the detail lines inside (negative shapes) you erase or it just comes along naturally when blending multiplying shapes and layers?
Could you show enlarged version of when you multiplied it, you know kind of a real messy one
when you multiply - white becomes transparent in the layer.
either erase or paint on top of it.
i will post a more detailed version of that step.
make them look more alive. i know there just thumbnails but add some lighting to make the black figure in to a character. that way they stand out and then the boss will see the idea for the character and different ideas for different character and that way you might save some time.
it looks really cool and i think all you need to apply is the shapes inside the character and you are good to go!!
keep it up you are getting there!
Post a Comment